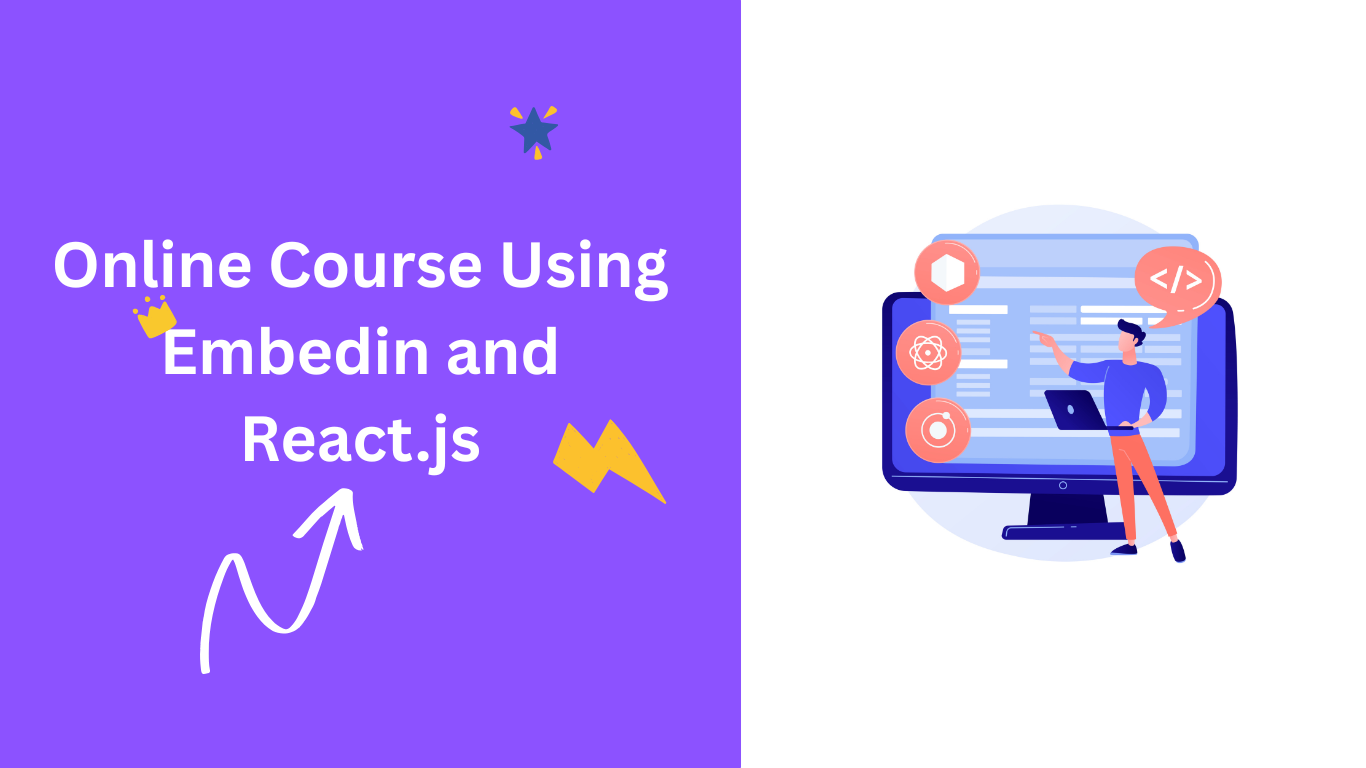
How to Create an Online Course Using Embedin and React.js
If you already have a React.js website, app, or customer portal, you do not need to move your audience to a separate course platform just to launch training content. A cleaner approach is to create the course in Embedin and embed the learning experience directly into your React app.
This setup gives you the best of both sides: Embedin handles course structure, video delivery, and learner access, while React gives you full control over the surrounding product experience.
In this guide, we will walk through how to create an online course using Embedin and publish it inside a React.js application.
Why use React.js for an online course website?
React is a strong fit if you want to build a custom course site, member area, or product onboarding experience.
With React, you can:
- Build branded landing pages and dashboards
- Combine courses with your existing product or SaaS app
- Control navigation, layout, and surrounding UI
- Reuse your current frontend stack
- Ship updates quickly without rebuilding your course system from scratch
Instead of building course hosting, lesson progression, and video delivery yourself, you can offload that part to Embedin.
What Embedin handles
Embedin is the course delivery layer. It helps you:
- Create courses, modules, and lessons
- Upload and stream video
- Organize learning content
- Handle enrollments and access control
- Embed the course into your website
That means your React app stays focused on product and presentation, while Embedin handles the course infrastructure.
Step 1: Create your course in Embedin
Start by creating the course content inside Embedin.
- Sign up or log in to Embedin
- Create a new course
- Add your course title, description, and cover image
- Create modules and sections for each lesson
- Upload your videos and supporting content
Once your course is ready, open the course settings and copy the course ID. You will use that ID in your React app.
Step 2: Allow your React app domain
Embedin uses domain restrictions to control where a course can be embedded.
In your course settings, add the domain where your React app runs. For example:
http://localhost:3000https://yourapp.com
This step is important. If your domain is not allowed, the course embed will not load correctly inside your app.
Step 3: Create or open your React app
If you already have a React app, you can use that. If not, you can create one with Vite:
npm create vite@latest my-course-site -- --template react
cd my-course-site
npm install
npm run dev
At this point, you have a React application ready to host your course page.
Step 4: Embed the course in React
The simplest approach is to load Embedin's script on a dedicated course page.
Create a component like this:
import { useEffect } from 'react'

export function CoursePage() {
  useEffect(() => {
    const script = document.createElement('script')
    script.type = 'module'
    script.src = 'https://embed.embedin.com/course.js'
    document.head.appendChild(script)

    return () => {
      document.head.removeChild(script)
    }
  }, [])

  return (
    <main>
      <h1>Course</h1>
      <div data-courseid="YOUR_COURSE_ID" id="YOUR_COURSE_ID"></div>
    </main>
  )
}
Replace YOUR_COURSE_ID with the course ID you copied from Embedin.
If your app uses React Router, you can mount this component on a route such as /course or /academy.
Step 5: Add it to your router
For example, with React Router:
import { BrowserRouter, Routes, Route } from 'react-router-dom'
import { CoursePage } from './CoursePage'

export default function App() {
  return (
    <BrowserRouter>
      <Routes>
        <Route path="/course" element={<CoursePage />} />
      </Routes>
    </BrowserRouter>
  )
}
Now your online course lives inside your React application instead of on a disconnected third-party page.
Step 6: Improve the surrounding experience
Once the course is embedded, you can use React to build a better learning environment around it.
Examples:
- Add a branded course landing page
- Show a sidebar with related resources
- Link the course to your product onboarding flow
- Add testimonials, FAQs, or upsell sections around the course
- Gate access through your own app navigation
This is where React becomes especially useful. You are not limited to a template course website. You can design the full user experience around the course.
When this setup works best
Using Embedin with React.js is a strong choice if:
- You already have a React product or website
- You want to keep your brand and UI consistent
- You need a custom course portal or academy
- You want course infrastructure without building it yourself
It is a practical setup for creators, startups, SaaS companies, and internal training teams.
Common mistakes to avoid
Here are the main issues that usually cause trouble:
Forgetting to allow your domain
If the React app domain is not added in Embedin course settings, the embed will fail.
Mixing app concerns with course infrastructure
React is great for the surrounding product experience, but building your own course backend, enrollment system, and streaming pipeline will cost time. Let Embedin handle that layer.
Embedding on the wrong route too early
It is usually cleaner to start with one dedicated course page first, then expand into a full learning hub after the initial setup works.
Final thoughts
If you want to create an online course with React.js, the fastest clean setup is to use React for the frontend experience and Embedin for course delivery.
That gives you control where it matters and removes the heavy lifting where it does not.
If you are ready to build your React-based course site, create your course on Embedin and embed it into your app in a few minutes.


.png)