
How to Enable the Community Feature in Embedin
If you are using Embedin to host your course experience, you can enable a native Community space directly inside the course.
That means learners can create posts, comment, and engage without leaving your learning environment.
This guide walks through the practical setup.
What happens when Community is enabled
When Community is turned on in course settings, Embedin enables a dedicated course community tied to that course.
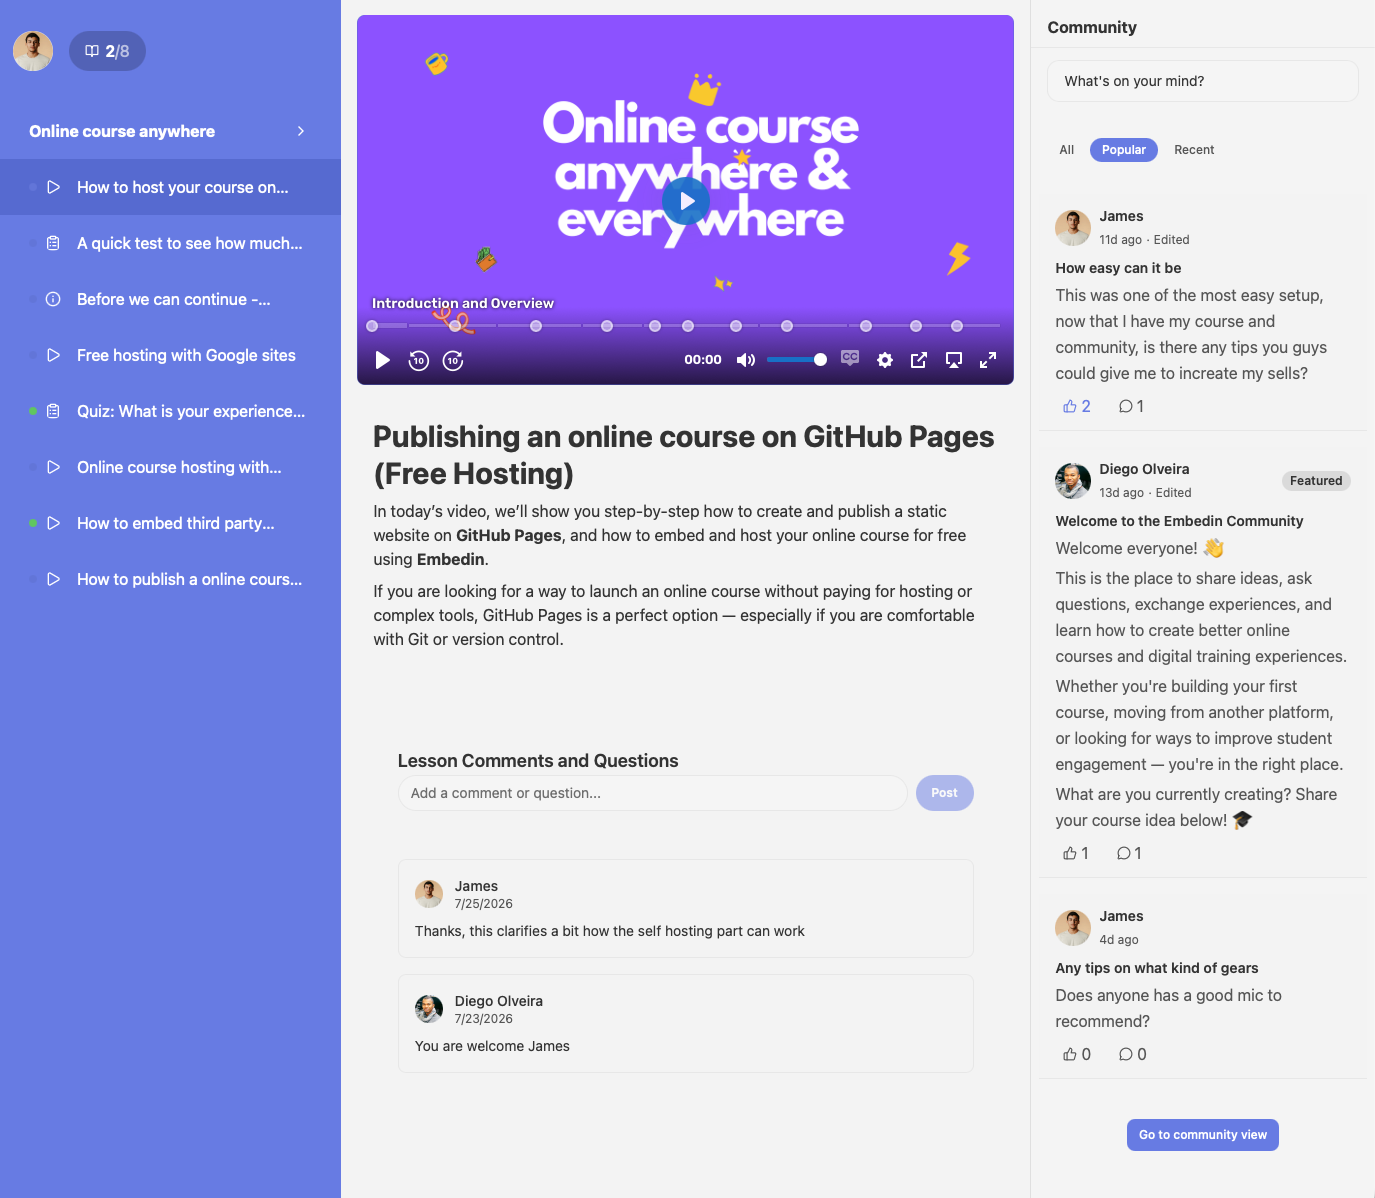
From the learner side, Community appears inside the course workspace. Depending on user state and enrollment access, learners can view and interact with posts.
Before you enable it
Have these ready first:
- A published (or near-published) course structure
- Enrollment/access rules defined for your audience
- One admin owner responsible for moderation
This makes your launch cleaner and avoids opening an empty community.
Step-by-step: Enable Community in Embedin
1. Open your course settings
Go to your course in Embedin and open the settings area for that course.
2. Find the Community toggle
In course settings, locate the community option and enable it.
Under the hood, this saves course settings with Community enabled and prepares the course community space.
3. Confirm it in course preview
Open the course preview or embedded course page and check that:
- Community appears in the course experience
- Enrolled users can post and comment
- Access behavior for non-enrolled users matches your policy
4. Seed the community before announcing
Create 2 to 3 starter posts so learners do not land on an empty page.
Good starter posts:
- Welcome post with participation rules
- "Introduce yourself" thread
Recommended launch checklist
Use this checklist right after enabling:
- Add community guidelines (respect, spam policy, support boundaries)
- Pin a welcome post
- Define response SLA (for example, "we reply within 24h")
- Set a weekly ritual (Monday goals, Friday wins)
- Assign one moderator/admin owner
Final thought
Enabling Community in Embedin is quick. Running it well is where outcomes happen.
Start by enabling the feature, seed it with a few strong prompts, and keep a consistent moderation rhythm. That combination is usually enough to turn passive learners into active participants.
.png)