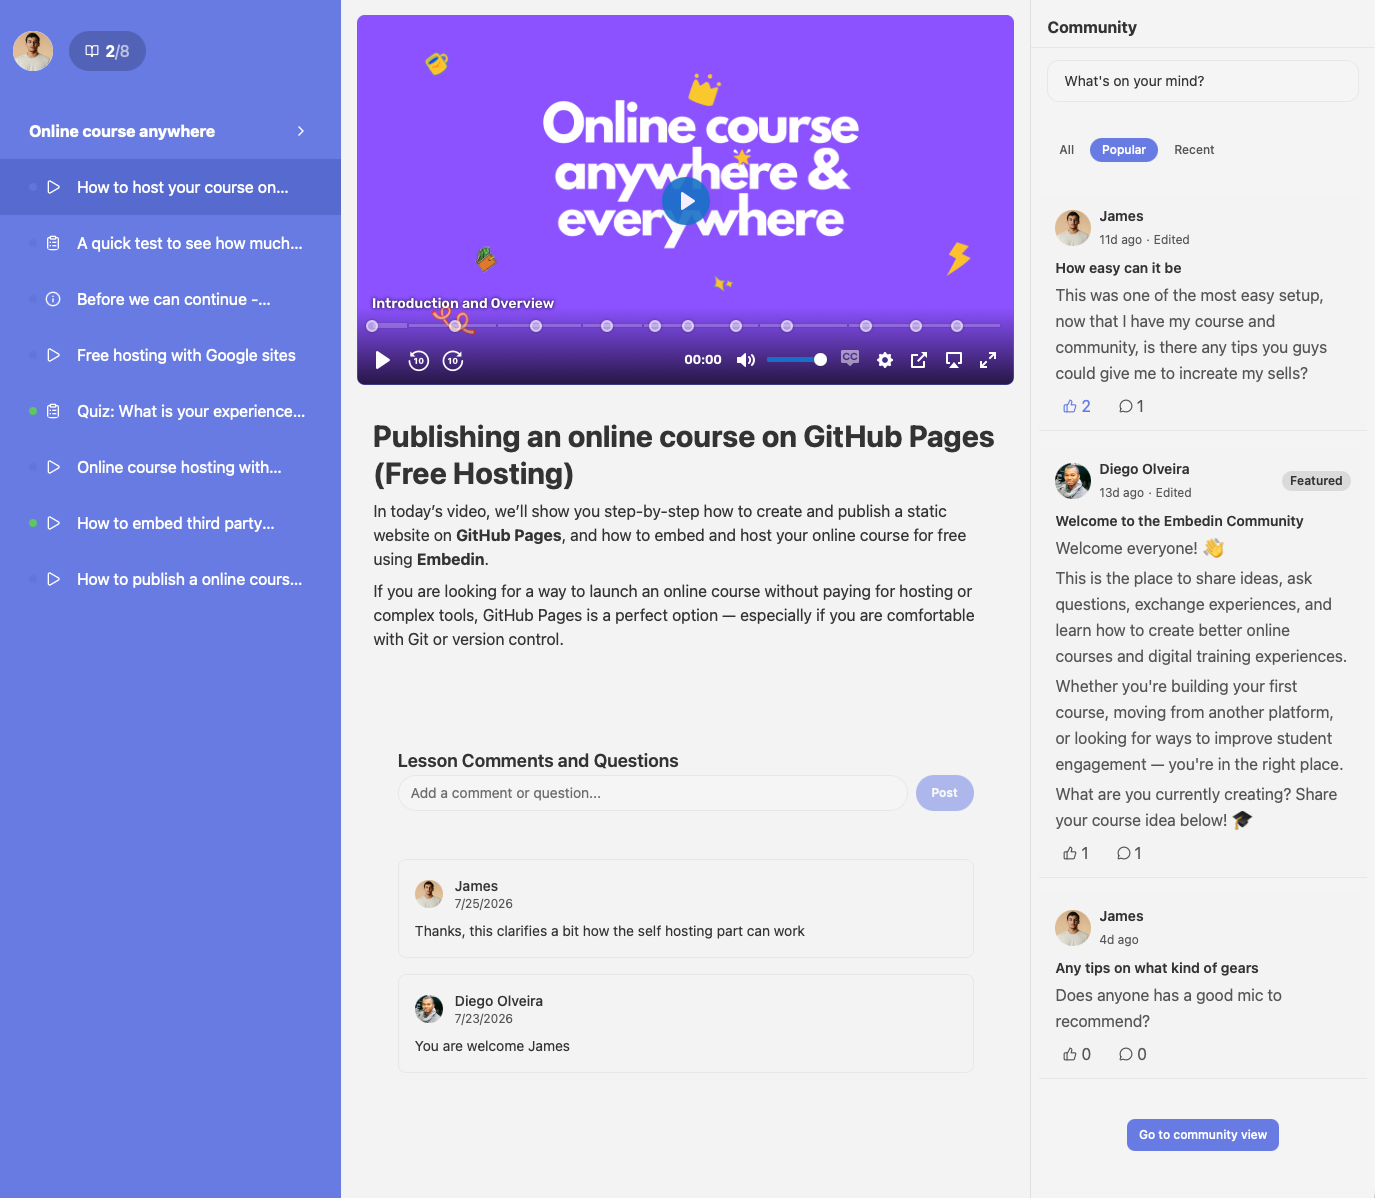
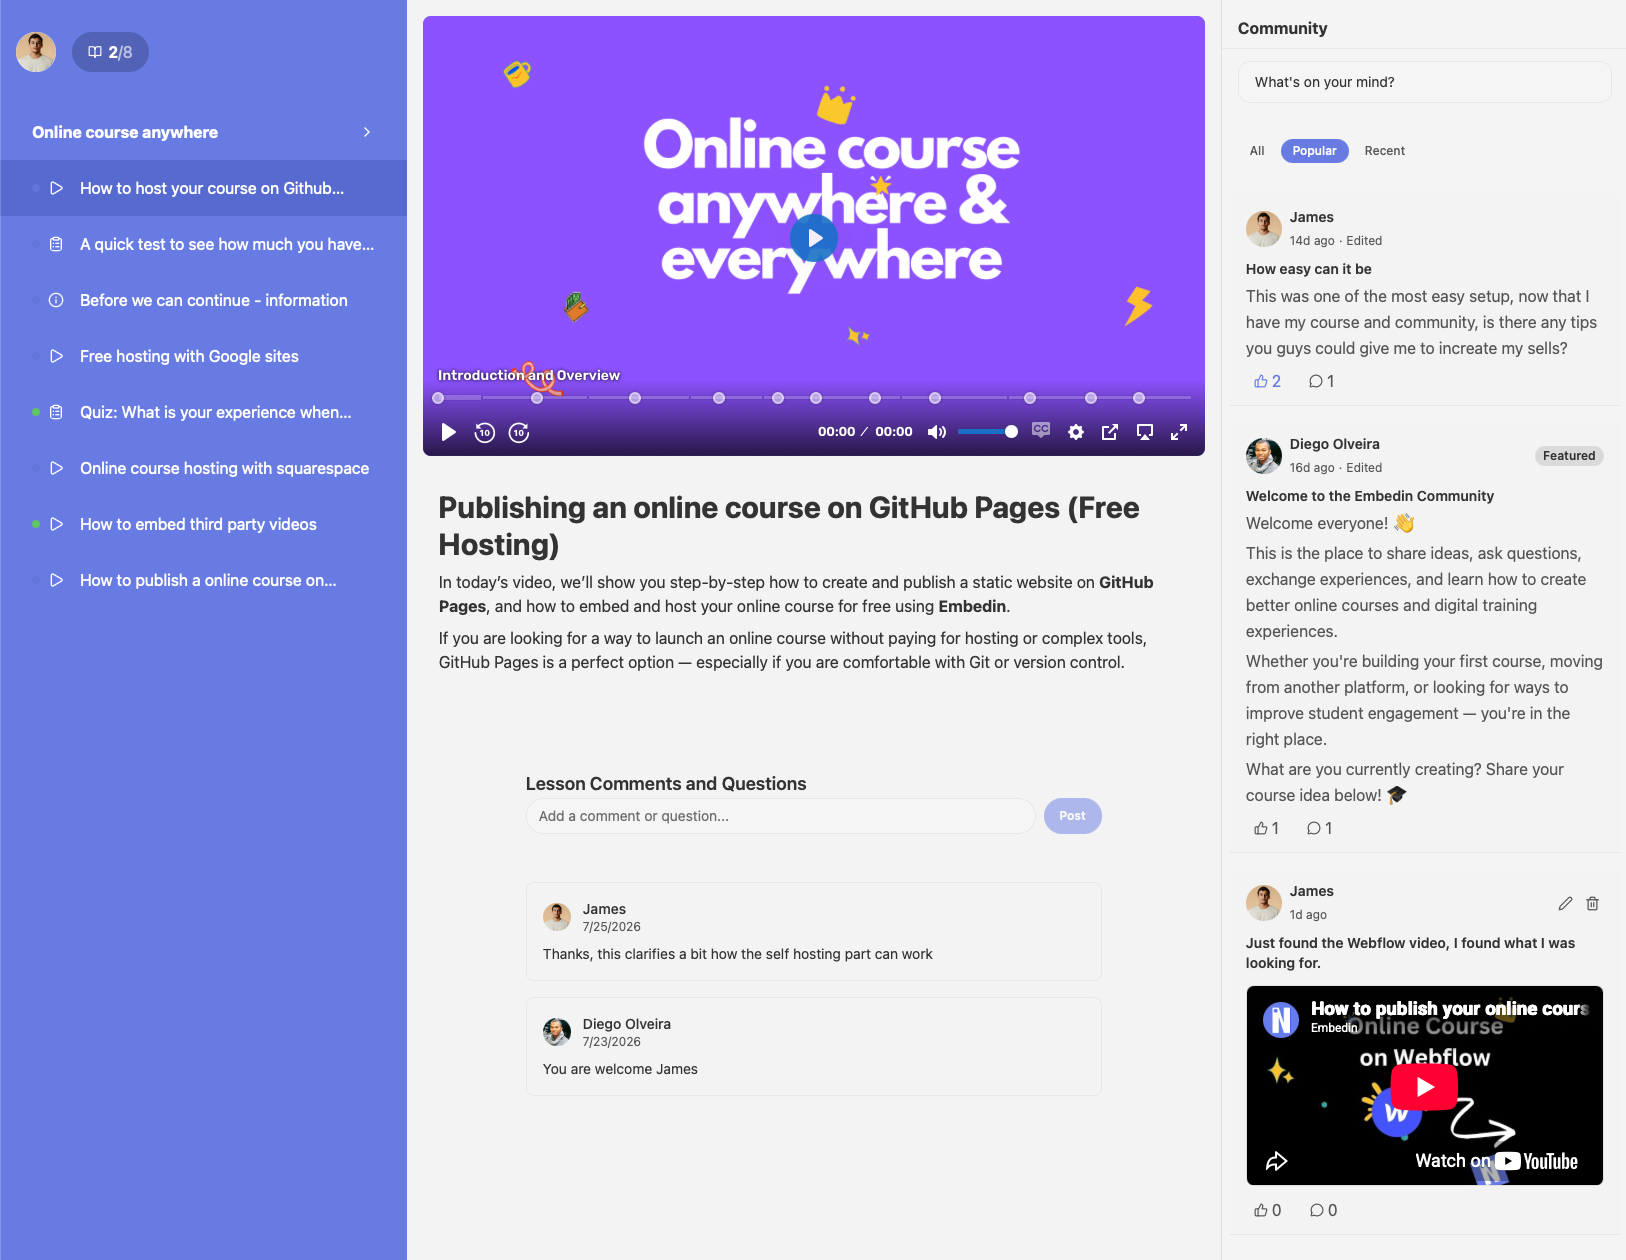
You do not have to replace your website to sell an online course. You can keep your existing site as the place people discover and buy from you, then add a course experience to the page. A hosted course page is another option when you do not have a website yet.
The exact setup depends on your site builder, payment provider, and how learners should get access. This guide walks through the decisions that matter before launch.
1. Choose where the course will live
Start with the learner journey you want:
- Embed the course on your website when you want lessons to appear within your existing site and brand. Your website needs an embed feature that allows the course code or app integration.
- Share a hosted course page when you want a ready-to-share link or do not have a site. You can still add your website later.
These options can work together. Choose a course platform that supports the publishing setup you need, rather than rebuilding your entire website around a course.
2. Prepare the course before adding it to a page
Create the course, organize modules and lessons, and add videos or downloadable resources. Decide whether learners can access the course for free or need enrollment before you add the sales page link.
If the platform gives you a course ID or embed code, keep it nearby. You will need it when configuring the website page. For integrations with a special workflow, follow the platform-specific guide: Wix, Webflow, Squarespace, Notion, Framer, Google Sites, or WordPress.
3. Write a useful course page
An embedded player is not a complete sales page by itself. Add regular page content that explains:
- Who the course is for and what learners will work toward
- What is included, such as video lessons, resources, or community
- How enrollment and payment work
- What a learner should do after signing up
If personal feedback is part of your offer, explain how students can book it and what to prepare. Embedin lets enrolled learners book 1:1 video calls from your course, with availability and call duration set by the creator.
Use a descriptive page title and meta description in your website builder. This gives visitors context and helps search engines understand the page; the course embed should not be the only meaningful content.
4. Add the course to your website
For a site that accepts HTML embeds, add the container and script where the course should appear. Replace YOUR_COURSE_ID in all three places with the course ID from your course settings:
<div id="YOUR_COURSE_ID" data-courseid="YOUR_COURSE_ID"></div>
<script type="module" data-courseid="YOUR_COURSE_ID" src="https://embed.embedin.com/course.js"></script>
Some platforms use a different flow. Wix Studio uses an app widget, and Notion uses the hosted Learn link in an Embed block. Check the platform setup pages for the right steps and editor-specific caveats.
Add every production, preview, and custom domain where the course will load to the course's allowed domain list. The embed may not work on an unlisted hostname.
5. Connect payments and set access
Connect a supported payment provider and set a price if the course is paid. Confirm what happens after checkout: the learner should know how to reach the course, and the course should apply the access rules you intended.
Check transaction costs before publishing. Embedin charges no transaction fee; Stripe's payment processing fees still apply. Other provider or billing terms may differ.
6. Test the complete learner experience
Before sharing the page, test it from a learner's point of view:
- Open the published page on its live domain, not only in the site editor.
- Check the course on mobile and desktop.
- Test sign-in, enrollment, checkout, and a restricted lesson where applicable.
- Confirm the page domain is allowed and the course ID appears correctly.
- Verify the learner can find the next lesson and any community or resources you included.
Editor previews can behave differently from public pages, especially when they restrict external scripts. If an embed is blank, check the domain allowlist, platform plan or block support, and published page first.
Keep improving after launch
Watch where learners stop, ask for feedback, and make the next lesson or onboarding step clearer. A course website works best when the course page, payment flow, and learner experience all set the same expectations.
Start a free course with Embedin and publish it on a website you already have or share a hosted course page.